Upgrade to the latest version of Portworx Enterprise for continued support. Documentation for the latest version of Portworx Enterprise can be found here.
Install on Kubernetes with Docker EE
This document explains how to install Portworx with Kubernetes on Docker EE 2.x.
Prerequisites
You must have Docker EE 2.x running with configured Kubernetes cluster.
Install Docker EE 2.x
Follow Docker documentation to install Docker EE 2.x https://docs.docker.com/install/linux/docker-ee/centos.
Deploy UCP
Select UCP version
Follow Docker documentation to install UCP https://docs.docker.com/ee/ucp/admin/install.
Install UCP
Here is an example command to install UCP 3.1.2.
docker image pull docker/ucp:3.1.2docker container run --rm -it --name ucp -v /var/run/docker.sock:/var/run/docker.sock docker/ucp:3.1.2 install --host-address <node-ip> --interactiveLogin to UCP
Use the credentials to login to UCP Dashboard, example: admin/password.
https://<node-ip>:443Configure kubernetes environment
Check your Kubernetes version
Navigate to Admin -> About -> Kubernetes and look for GoVersion.
https://<node-ip>/manage/about/kubernetes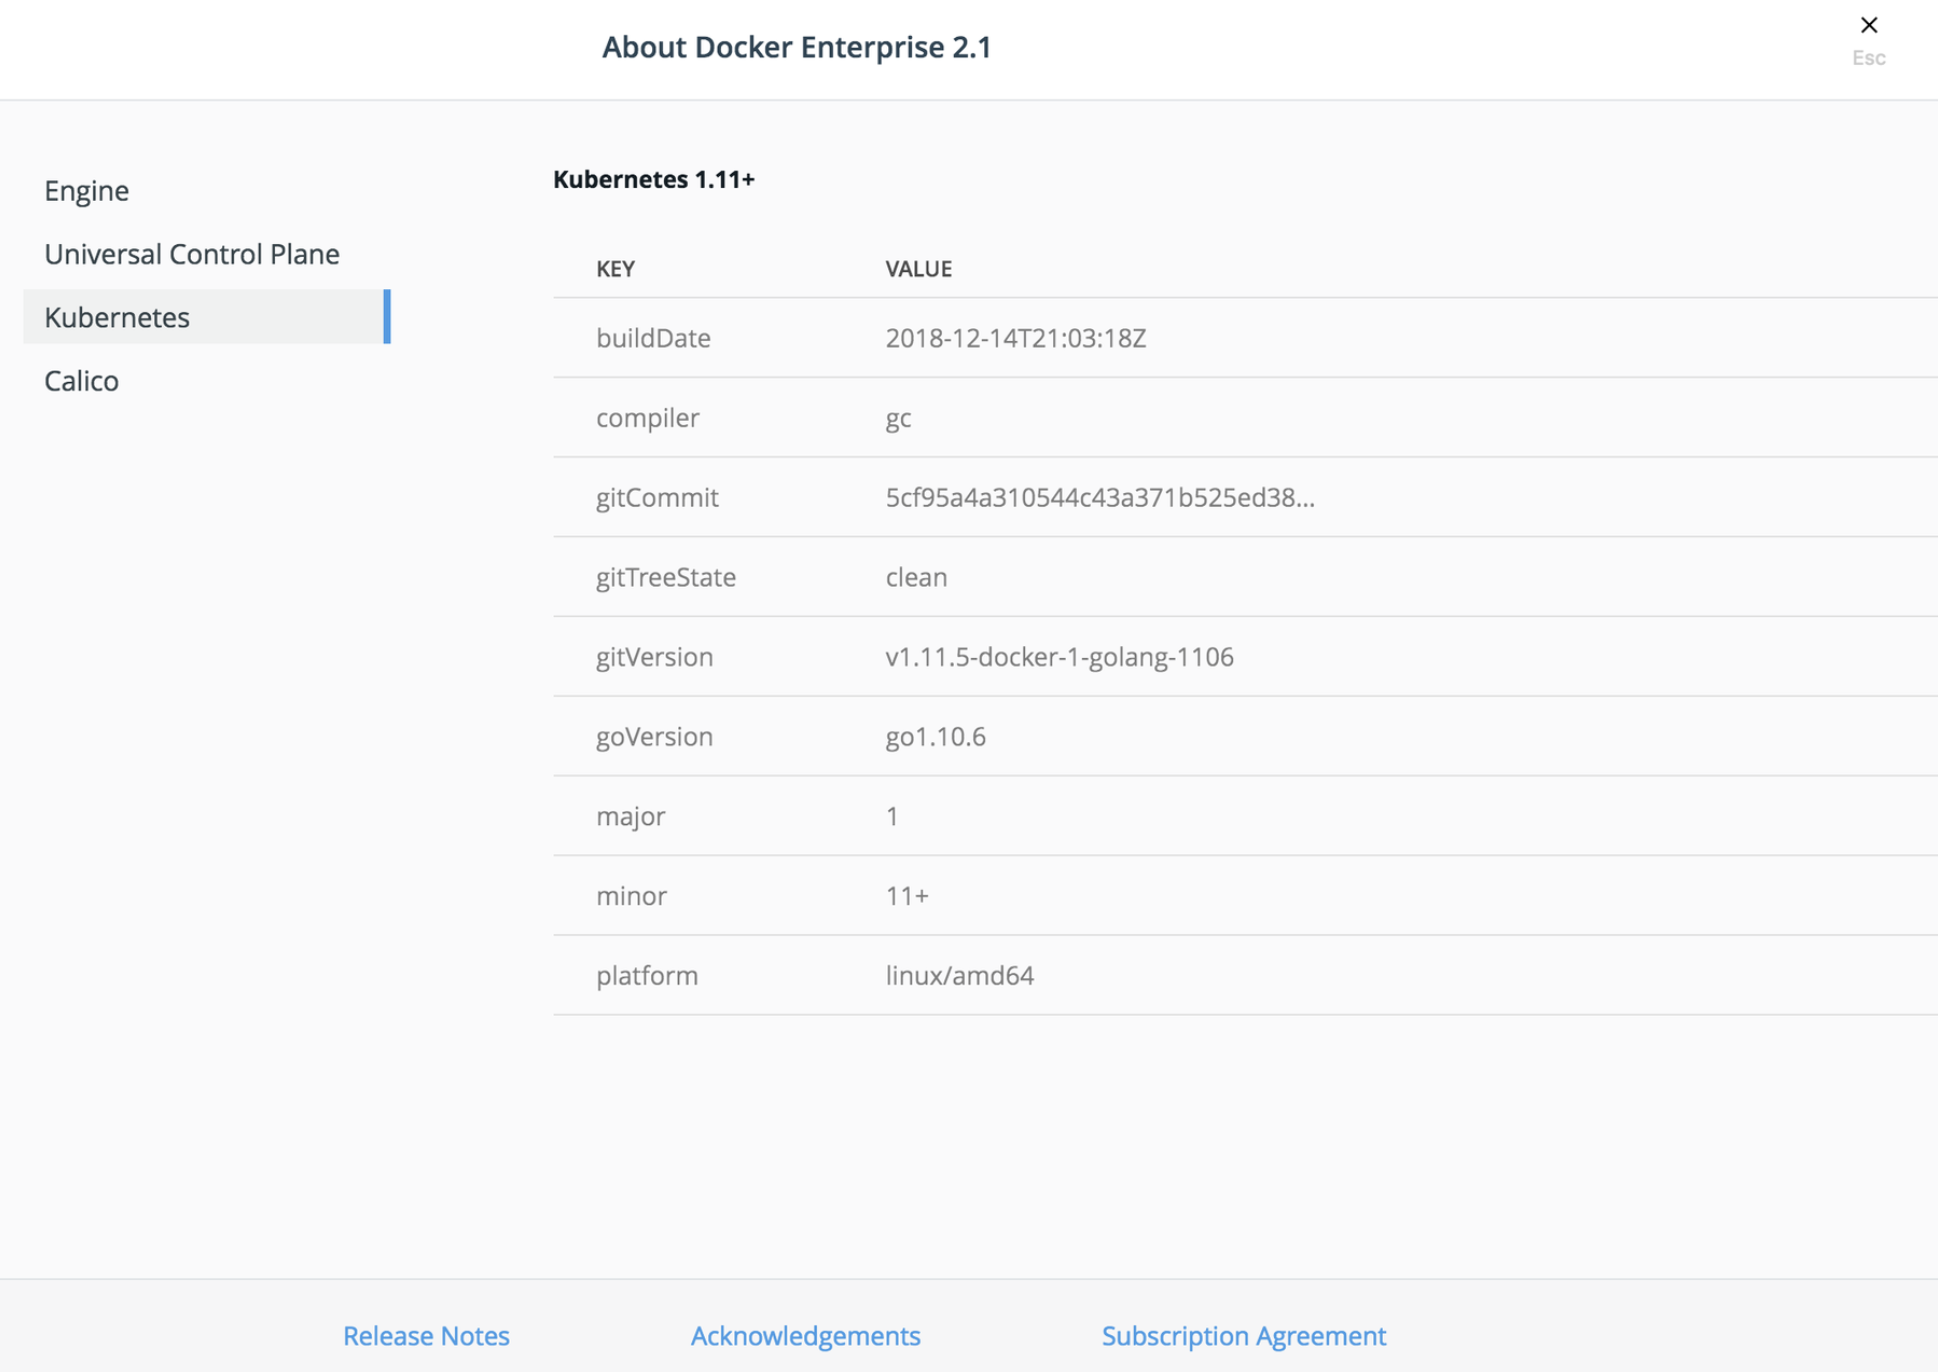
Install kubectl
Follow Kubernetes documentation to install kubectl package https://kubernetes.io/docs/tasks/tools/install-kubectl/#install-kubectl.
Generate new client bundle
Navigate to Admin -> My Profile -> Client Bundles and select Generate New Client Bundle from dropdown menu.
https://<node-ip>/manage/profile/clientbundle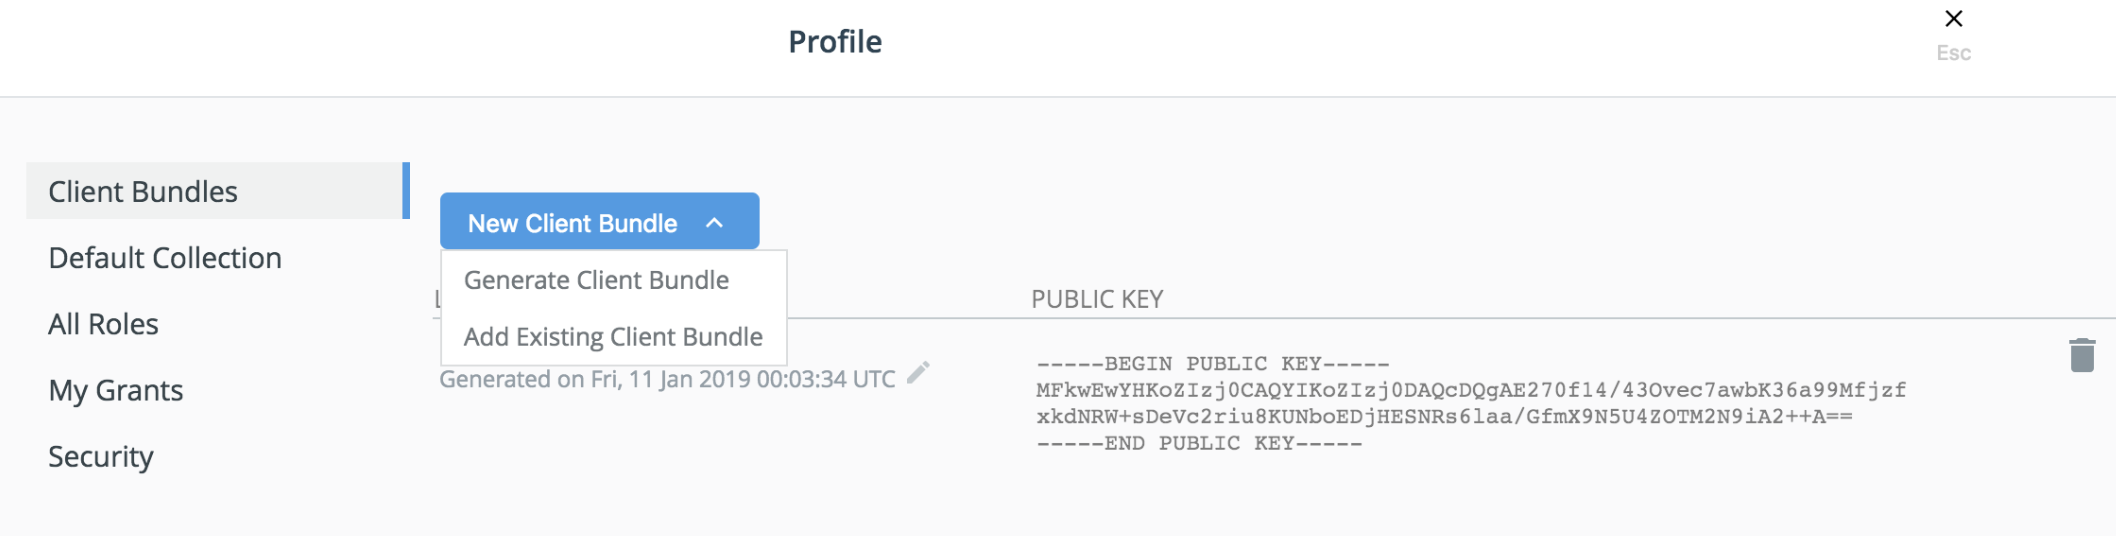
Download Client Bundle and set env
Install unzip and use it to unpackage bundle.
yum install -y unzip
unzip ucp-bundle-admin.zip
eval "$(<env.sh)"
Now use kubectl to get nodes.
kubectl get nodes -o wideInstall Portworx
Generate the specs
To install Portworx with Kubernetes, you must first generate Kubernetes manifests that you will deploy in your cluster:
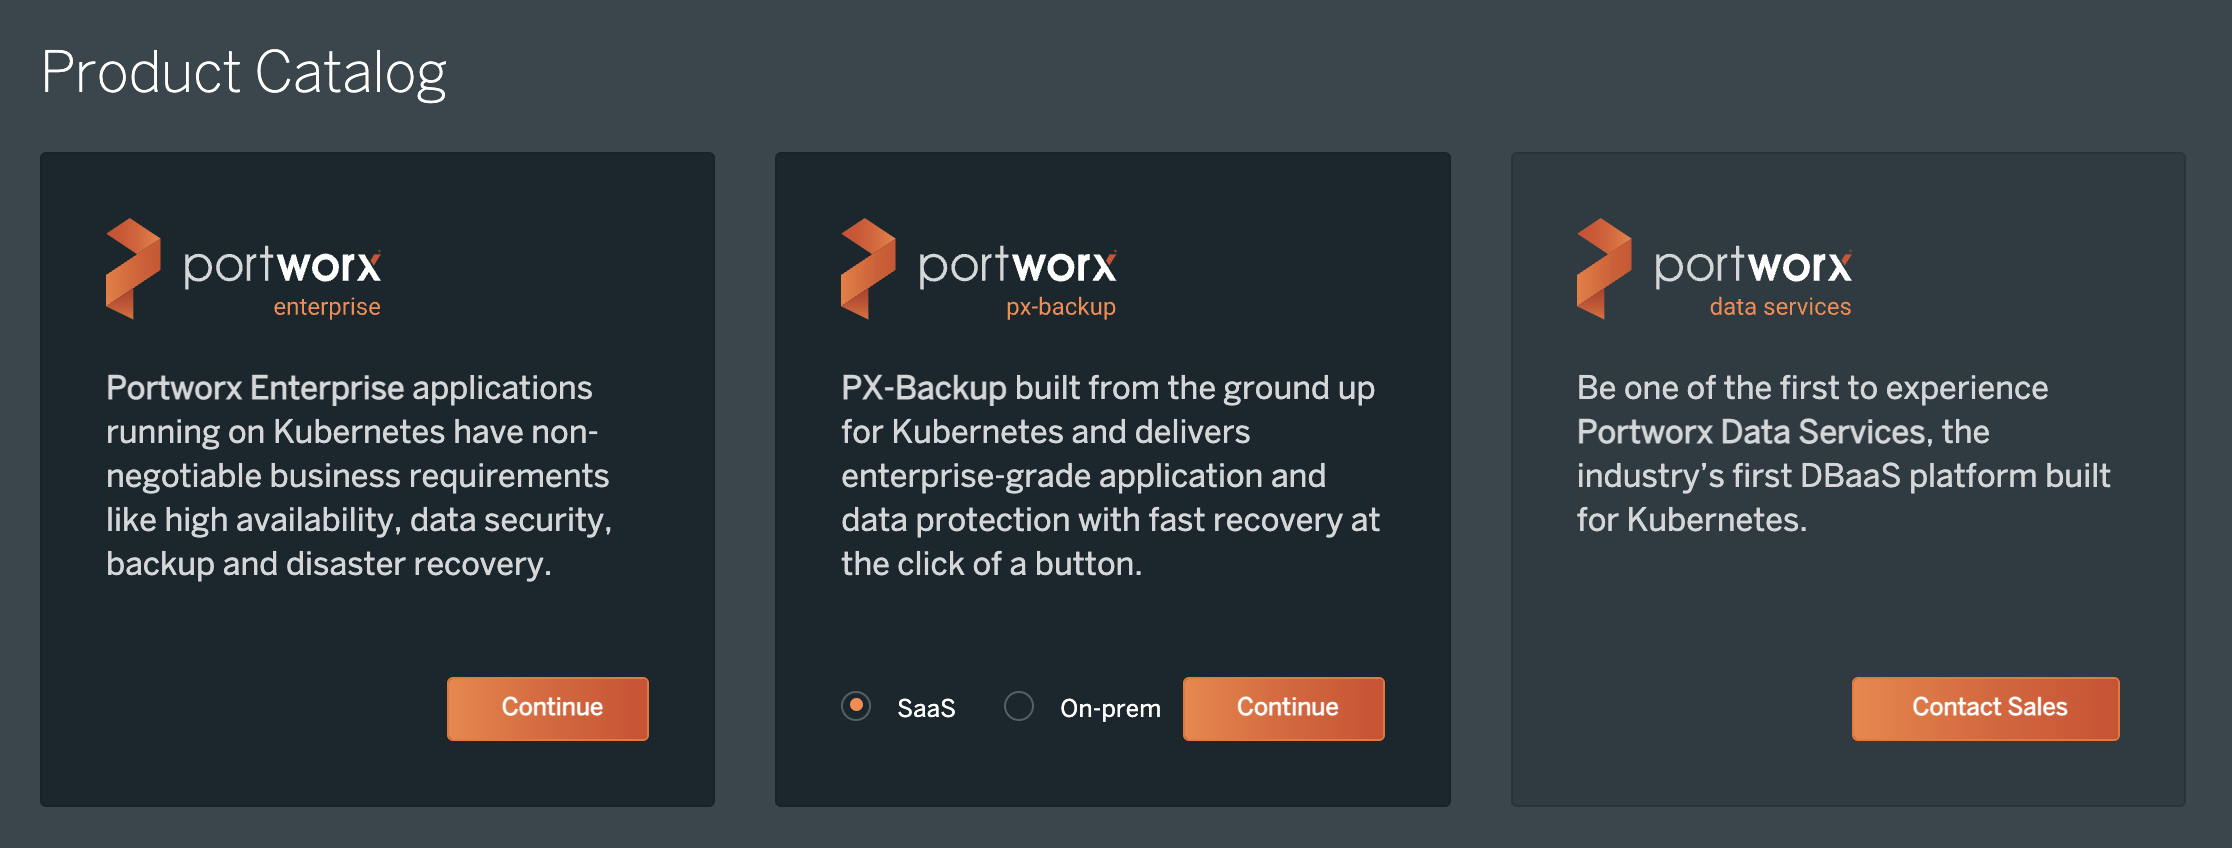
Navigate to PX-Central and log in, or create an account.
Click Continue with Portworx Enterprise option:
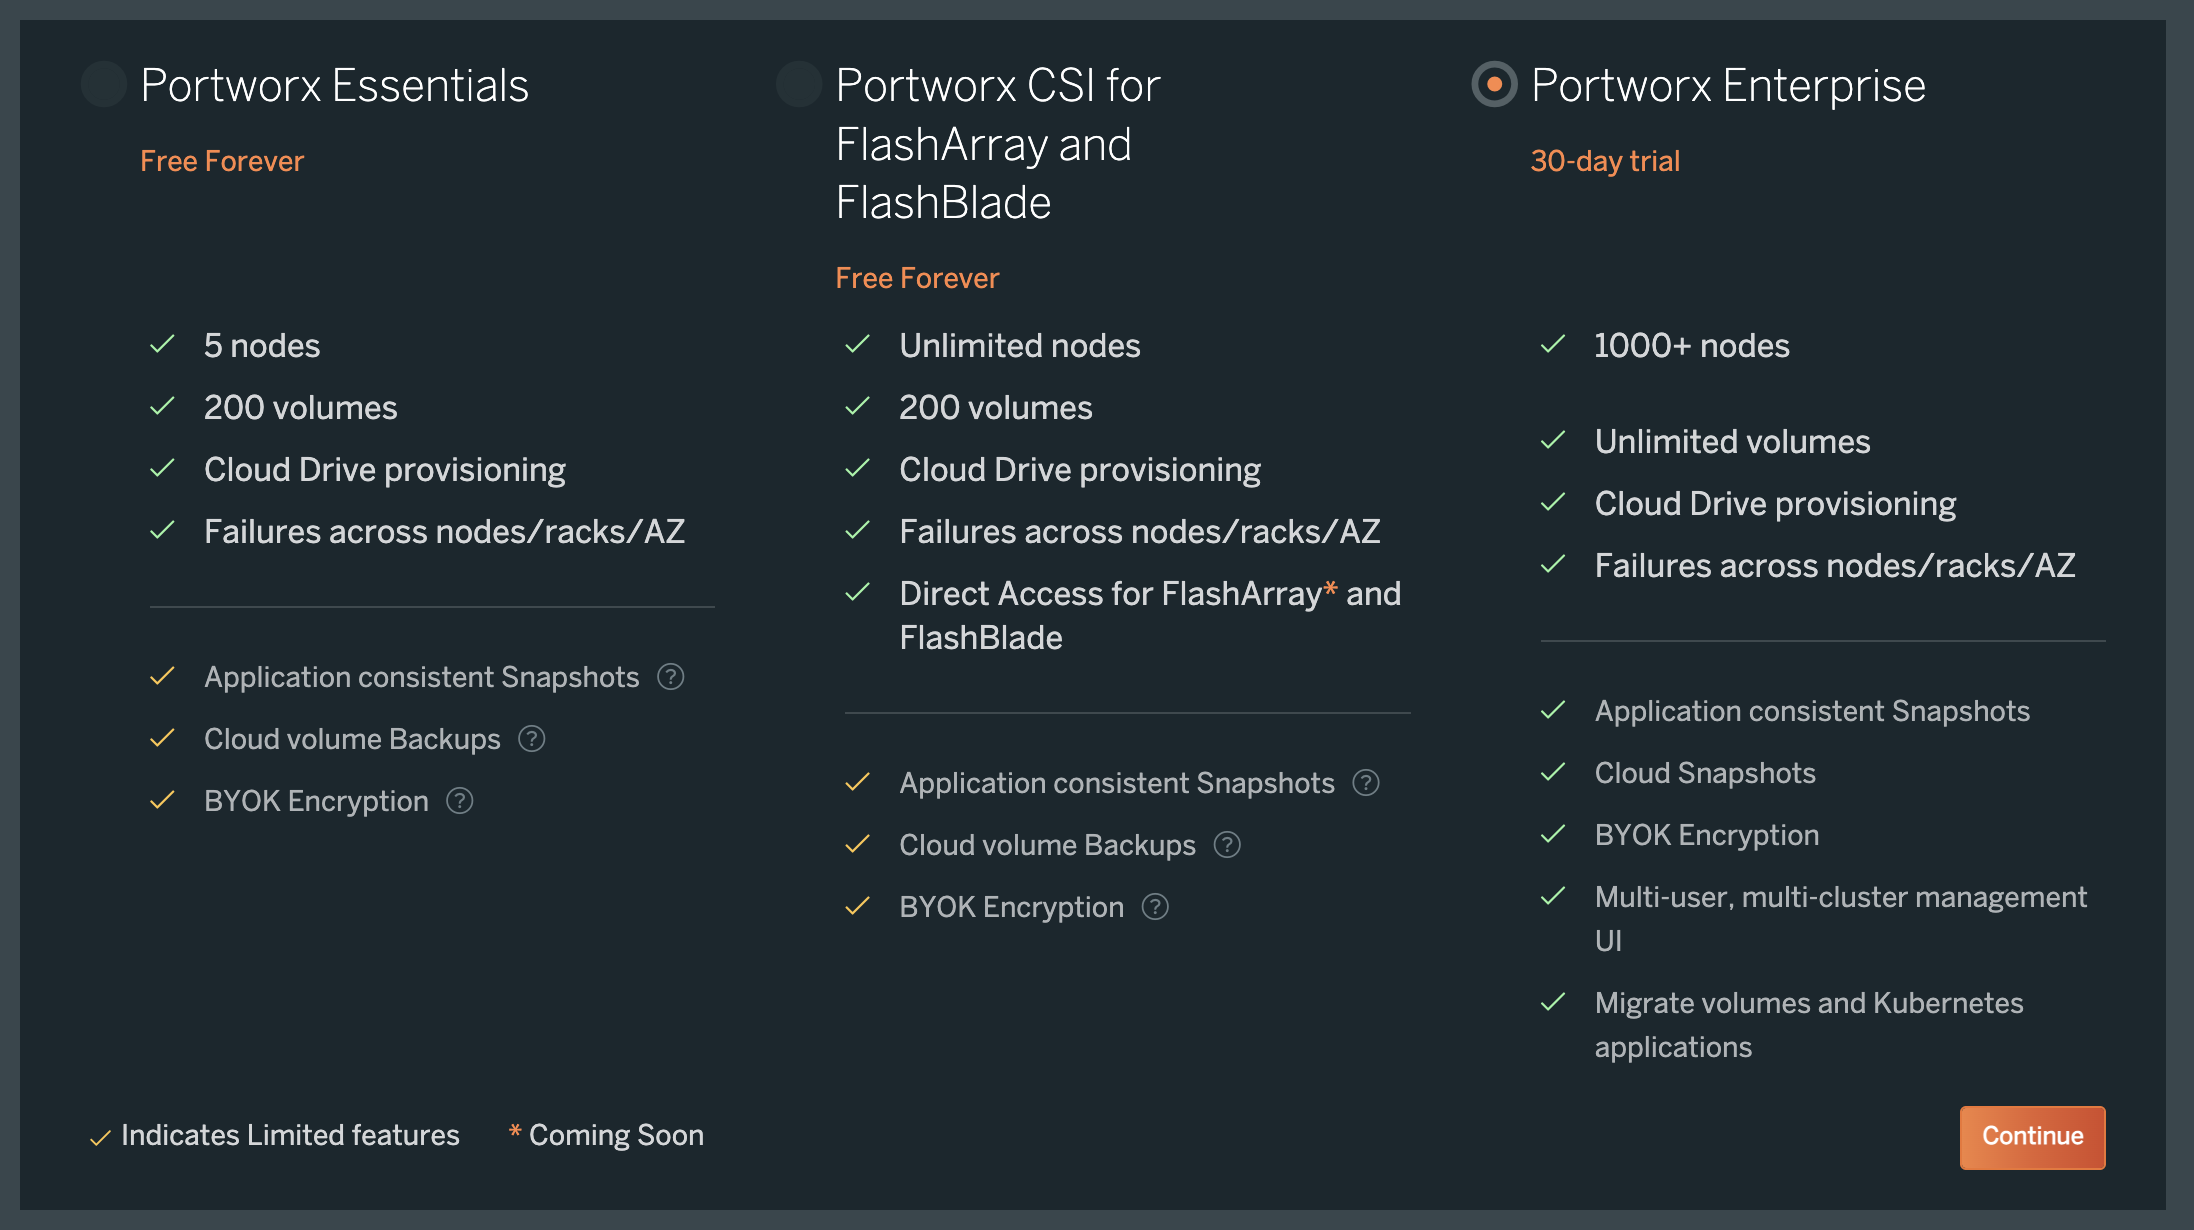
Choose an appropriate license for your requirement and click Continue:
Portworx can also be installed using its Helm chart by following instructions here. The above method is recommended over helm as the wizard will guide you based on your environment.
Apply specs
Apply the Operator and StorageCluster specs you generated in the section above using the kubectl apply command:
Deploy the Operator:
kubectl apply -f 'https://install.portworx.com/<version-number>?comp=pxoperator'serviceaccount/portworx-operator created podsecuritypolicy.policy/px-operator created clusterrole.rbac.authorization.k8s.io/portworx-operator created clusterrolebinding.rbac.authorization.k8s.io/portworx-operator created deployment.apps/portworx-operator createdDeploy the StorageCluster:
kubectl apply -f 'https://install.portworx.com/<version-number>?operator=true&mc=false&kbver=&b=true&kd=type%3Dgp2%2Csize%3D150&s=%22type%3Dgp2%2Csize%3D150%22&c=px-cluster-XXXX-XXXX&eks=true&stork=true&csi=true&mon=true&tel=false&st=k8s&e==AWS_ACCESS_KEY_ID%3XXXX%2CAWS_SECRET_ACCESS_KEY%3XXXX&promop=true'storagecluster.core.libopenstorage.org/px-cluster-0d8dad46-f9fd-4945-b4ac-8dfd338e915b created
Monitor the Portworx pods
Enter the following
kubectl getcommand, waiting until all Portworx pods show as ready in the output:kubectl get pods -o wide -n kube-system -l name=portworxEnter the following
kubectl describecommand with the ID of one of your Portworx pods to show the current installation status for individual nodes:kubectl -n kube-system describe pods <portworx-pod-id>Events: Type Reason Age From Message ---- ------ ---- ---- ------- Normal Scheduled 7m57s default-scheduler Successfully assigned kube-system/portworx-qxtw4 to k8s-node-2 Normal Pulling 7m55s kubelet, k8s-node-2 Pulling image "portworx/oci-monitor:2.5.0" Normal Pulled 7m54s kubelet, k8s-node-2 Successfully pulled image "portworx/oci-monitor:2.5.0" Normal Created 7m53s kubelet, k8s-node-2 Created container portworx Normal Started 7m51s kubelet, k8s-node-2 Started container portworx Normal PortworxMonitorImagePullInPrgress 7m48s portworx, k8s-node-2 Portworx image portworx/px-enterprise:2.5.0 pull and extraction in progress Warning NodeStateChange 5m26s portworx, k8s-node-2 Node is not in quorum. Waiting to connect to peer nodes on port 9002. Warning Unhealthy 5m15s (x15 over 7m35s) kubelet, k8s-node-2 Readiness probe failed: HTTP probe failed with statuscode: 503 Normal NodeStartSuccess 5m7s portworx, k8s-node-2 PX is ready on this nodeNOTE: In your output, the image pulled will differ based on your chosen Portworx license type and version.
Monitor the cluster status
Use the pxctl status command to display the status of your Portworx cluster:
PX_POD=$(kubectl get pods -l name=portworx -n kube-system -o jsonpath='{.items[0].metadata.name}')
kubectl exec $PX_POD -n kube-system -- /opt/pwx/bin/pxctl status
Post-Install
Once you have a running Portworx installation, below sections are useful.
-
Kubernetes operations arrow_forward_iosOperations guide for running Portworx in Production with Kubernetes
-
Storage operations arrow_forward_iosLearn how to perform various storage operations using Portworx on Kubernetes
-
Stateful applications on Kubernetes arrow_forward_iosLearn how to install various applications with Portworx on Kubernetes