Upgrade to the latest version of Portworx Enterprise for continued support. Documentation for the latest version of Portworx Enterprise can be found here.
Install Portworx on Kubernetes using Rancher
This guide provides instructions for installing Portworx on Kubernetes using Rancher with a Helm chart.
RancherOS distro.
Prerequisites
- You must have a Kubernetes cluster imported into Rancher
- Your cluster must meet the requirements for installing a Portworx cluster
Install Portworx on Kubernetes using Rancher
Perform the following steps to install Portworx from your Rancher UI:
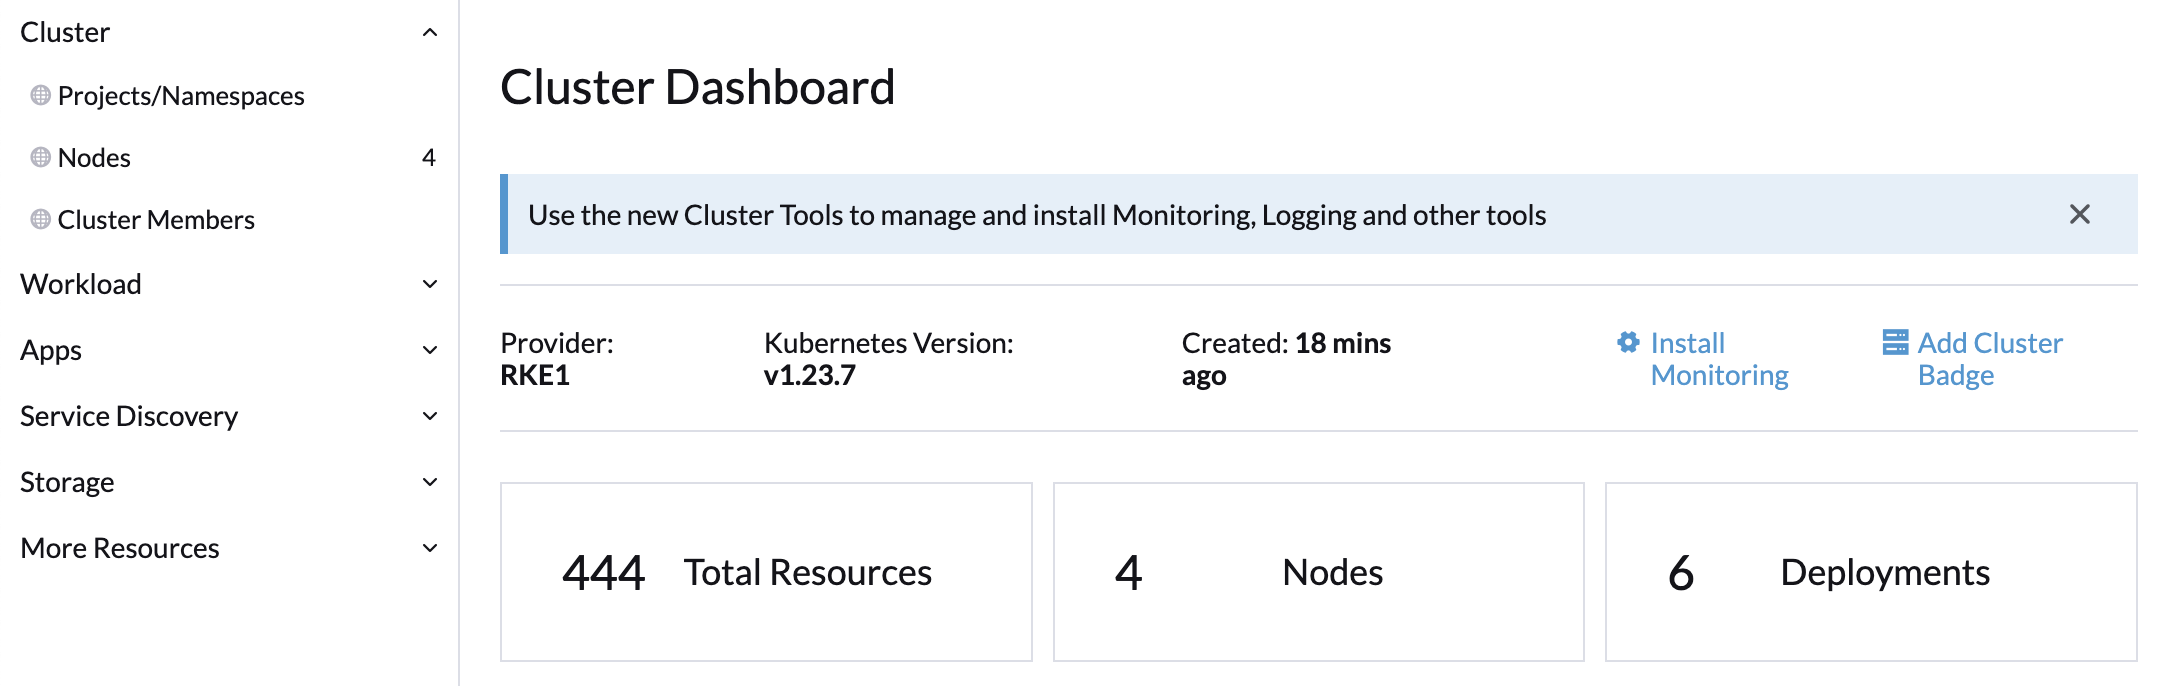
From your Cluster Dashboard, click App in the left pane to open the Charts page:
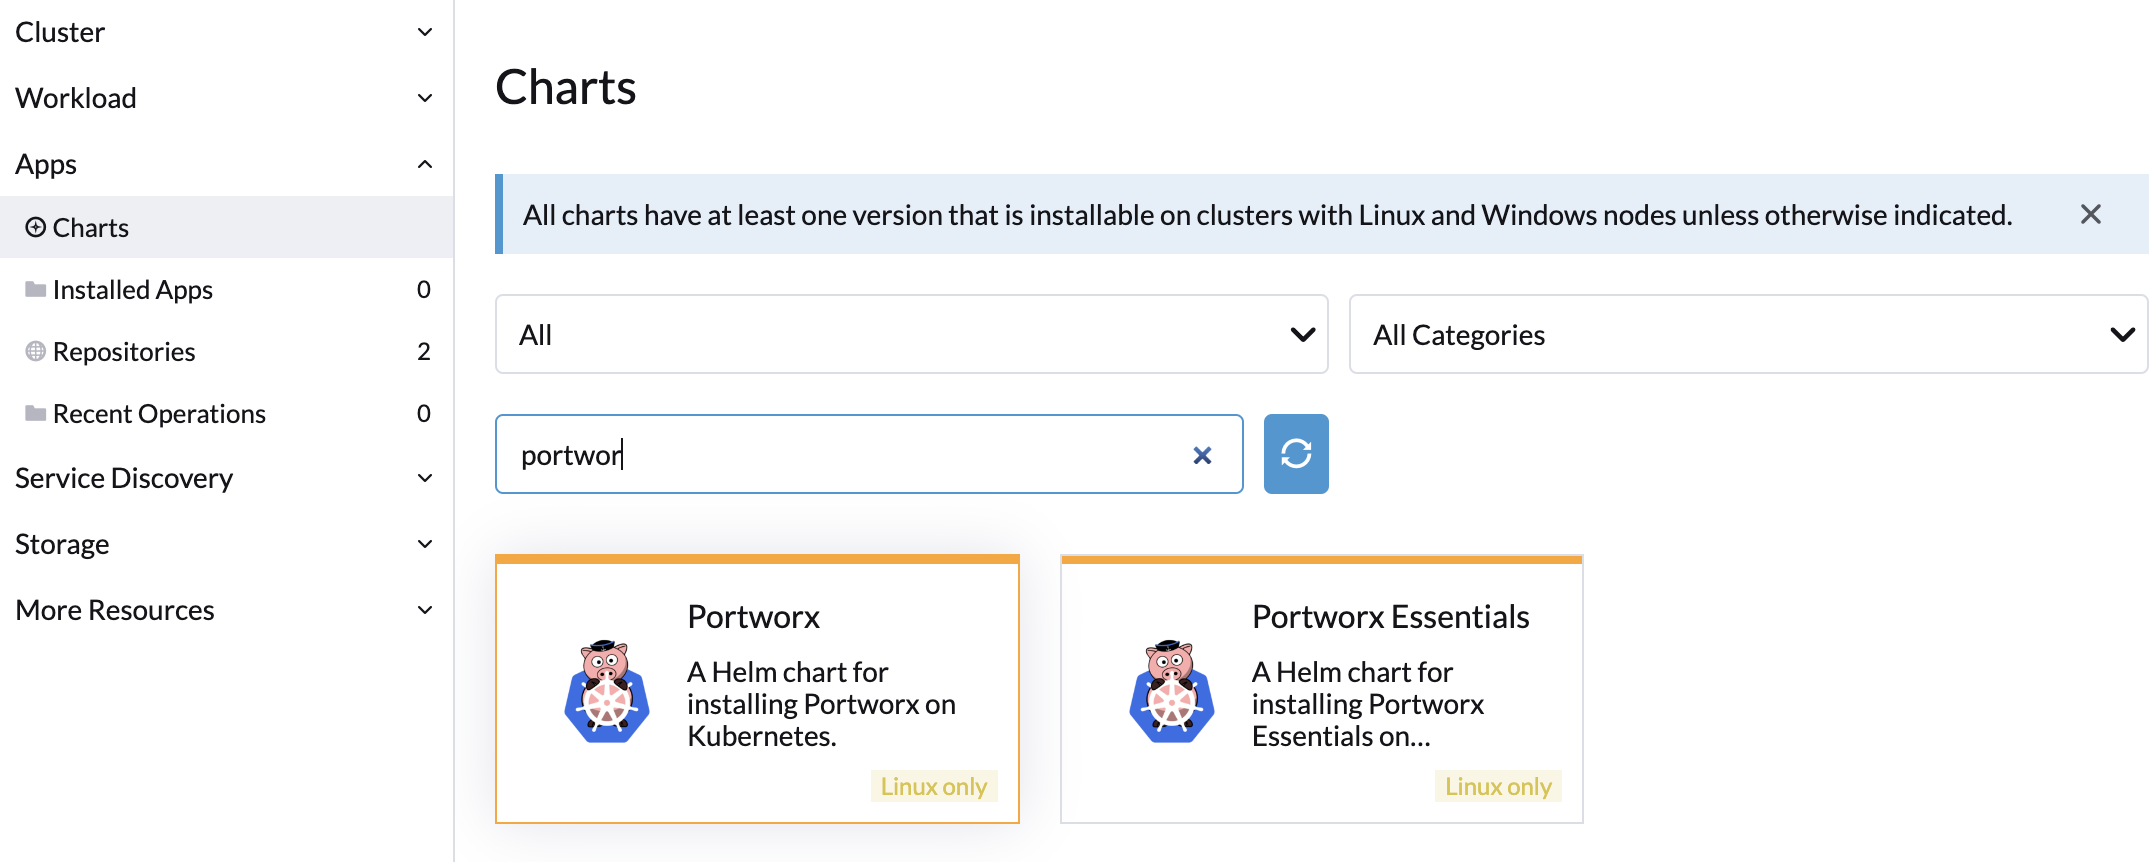
Search for the Portworx catalog and select the Portworx card on the Charts page:
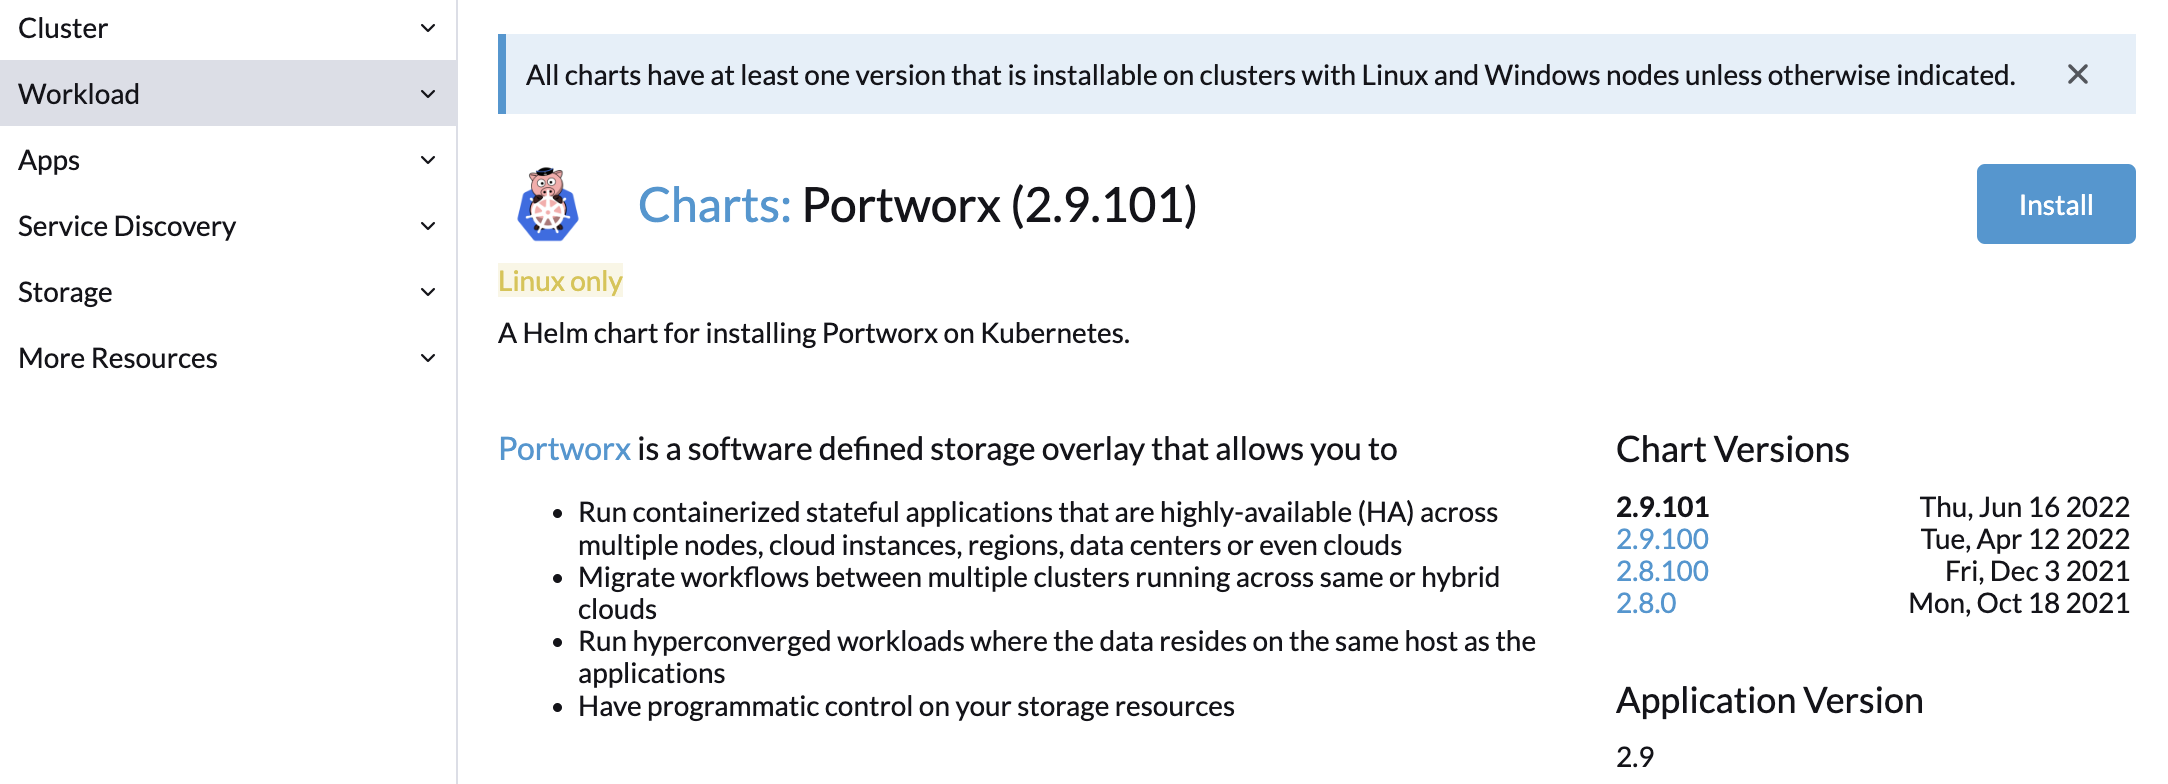
Choose the latest version from the Chart Versions list and then click the Install button in the upper-right corner to start the Helm chart form:
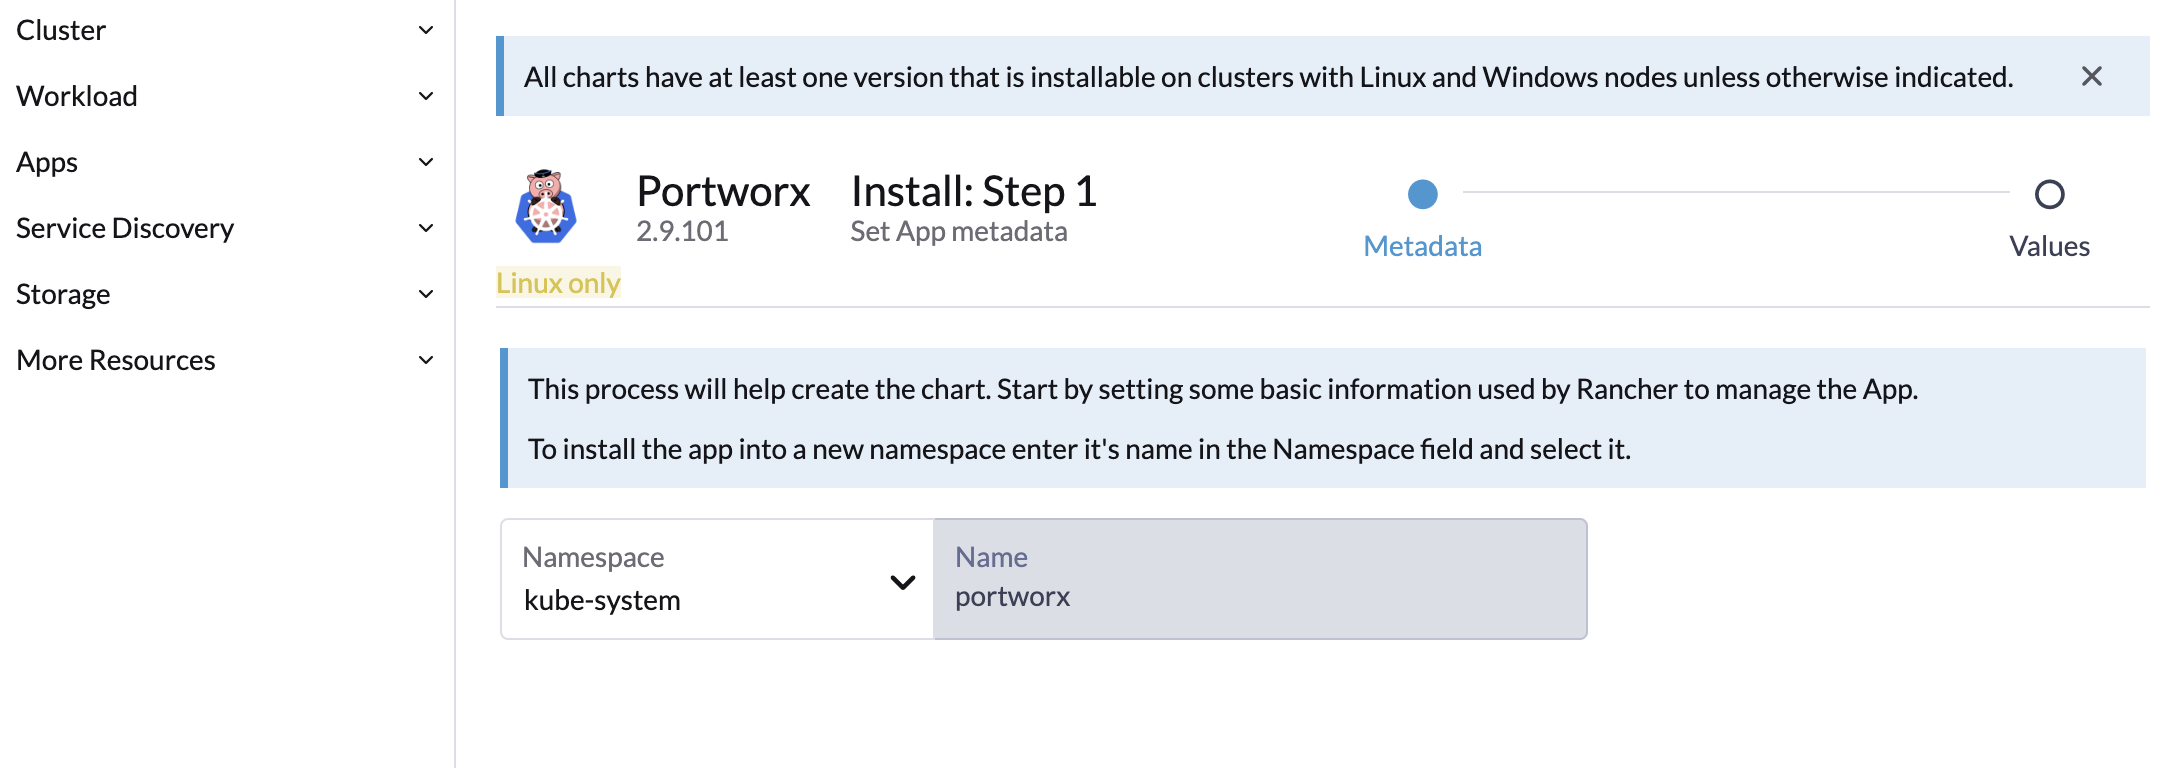
Choose the kube-system namespace from the drop-down list and click Next:
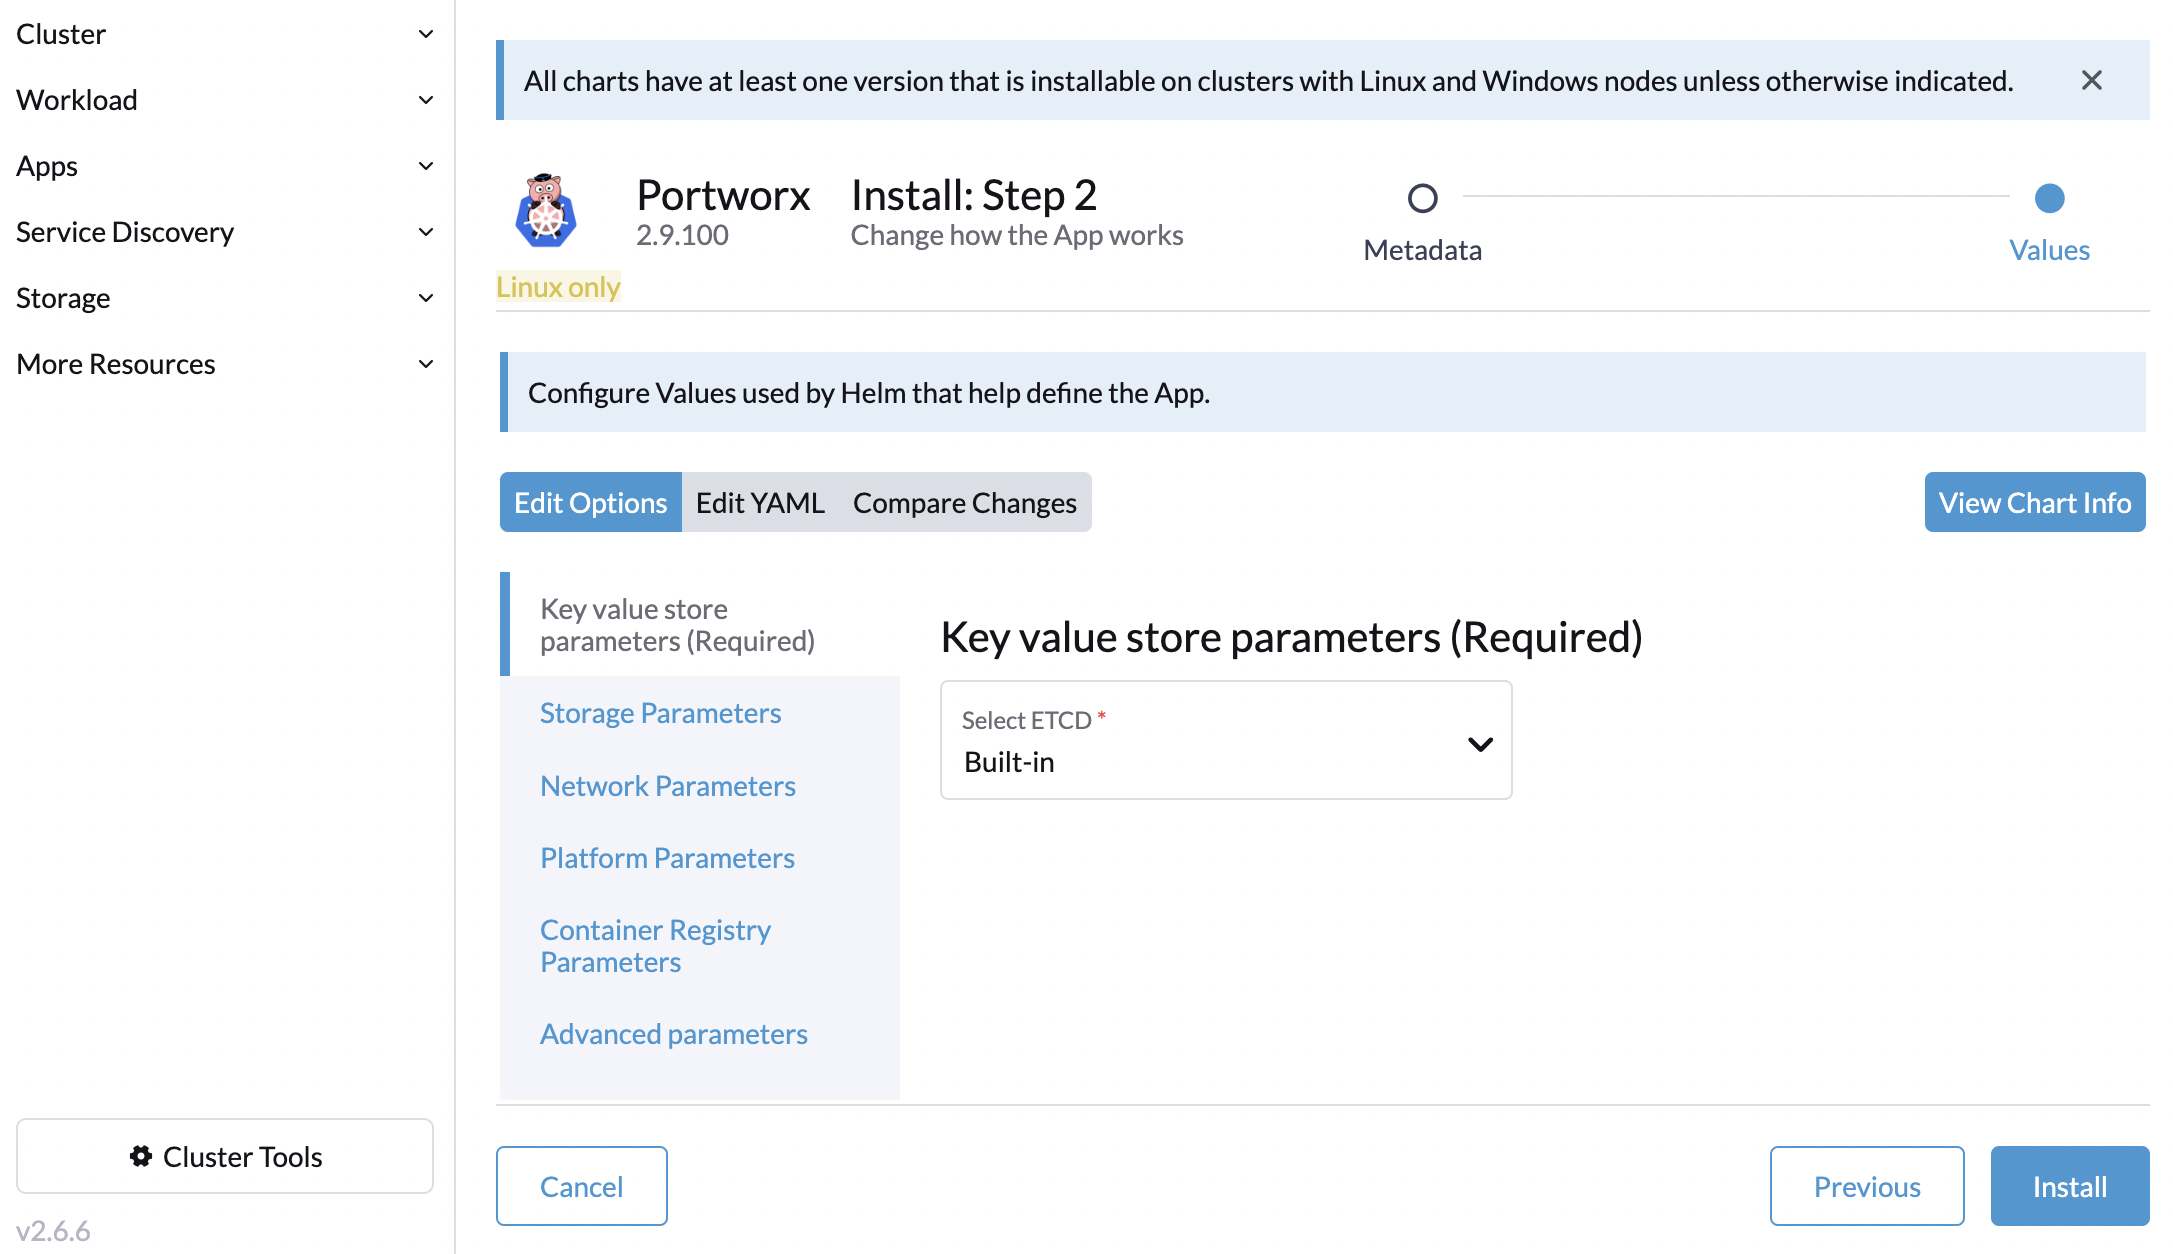
Populate the various sections of the Edit Options of the Helm chart form:
In the Key value store parameters section, choose Built-in option for the Select ETCD filed.
In the Storage Parameters section, specify whether your cluster is located on-prem or on a cloud provider, and choose your disk configuration:
Do not change the Portworx version in the Portworx version to be deployed field of Advanced parameters.

Click the Install button in the bottom-right corner to deploy Portworx.
Once the installation is completed, the Portworx status will be shown as Deployed.
Post-Install
Once you have a running Portworx installation, below sections are useful.
-
Kubernetes operations arrow_forward_iosOperations guide for running Portworx in Production with Kubernetes
-
Storage operations arrow_forward_iosLearn how to perform various storage operations using Portworx on Kubernetes
-
Stateful applications on Kubernetes arrow_forward_iosLearn how to install various applications with Portworx on Kubernetes