Upgrade to the latest version of Portworx Enterprise for continued support. Documentation for the latest version of Portworx Enterprise can be found here.
Deploy Portworx using the Operator
The Portworx Enterprise
Operator takes a custom Kubernetes resource called StorageCluster as input. The StorageCluster is a representation of your Portworx cluster configuration. Once the StorageCluster object is created, the Operator will deploy a Portworx cluster corresponding to the specification in the StorageCluster object. The Operator will watch for changes on the StorageCluster and update your cluster according to the latest specifications.
For more information about the StorageCluster object and how the Operator manages changes, refer to the StorageCluster article.
Grant the required cloud permissions
If you’re installing Portworx on OpenShift on a cloud environment, Portworx requires different user and service permissions from OpenShift. Grant the appropriate permissions for your cloud environment.
OpenShift on GCP
Portworx requires access to the Google Cloud APIs to provision & manage disks. Make sure the worker service account created by openshift-install has the following roles:
- Compute Admin
- Service Account User
- Kubernetes Engine Cluster Viewer
For more information about roles and permissions within GCP, see the Granting, changing, and revoking access to resources section of the GCP documentation.
Open ports for worker nodes
Ensure ports 17001-17020 on worker nodes are reachable from the control plane node and other worker nodes.
Create a secret for Portworx Essentials
If you’re running a Portworx Essentials cluster, then create the following secret with your Essential Entitlement ID:
kubectl -n kube-system create secret generic px-essential \
  --from-literal=px-essen-user-id=YOUR_ESSENTIAL_ENTITLEMENT_ID \
  --from-literal=px-osb-endpoint='https://pxessentials.portworx.com/osb/billing/v1/register'
Install Portworx using the OpenShift console
To install Portworx with OpenShift, you will first generate StorageCluster spec that you will deploy in your cluster.
Generate the
StorageClusterspec with the Portworx spec generator tool.Within the Portworx Operator page, select Create Instance to create a
StorageClusterobject.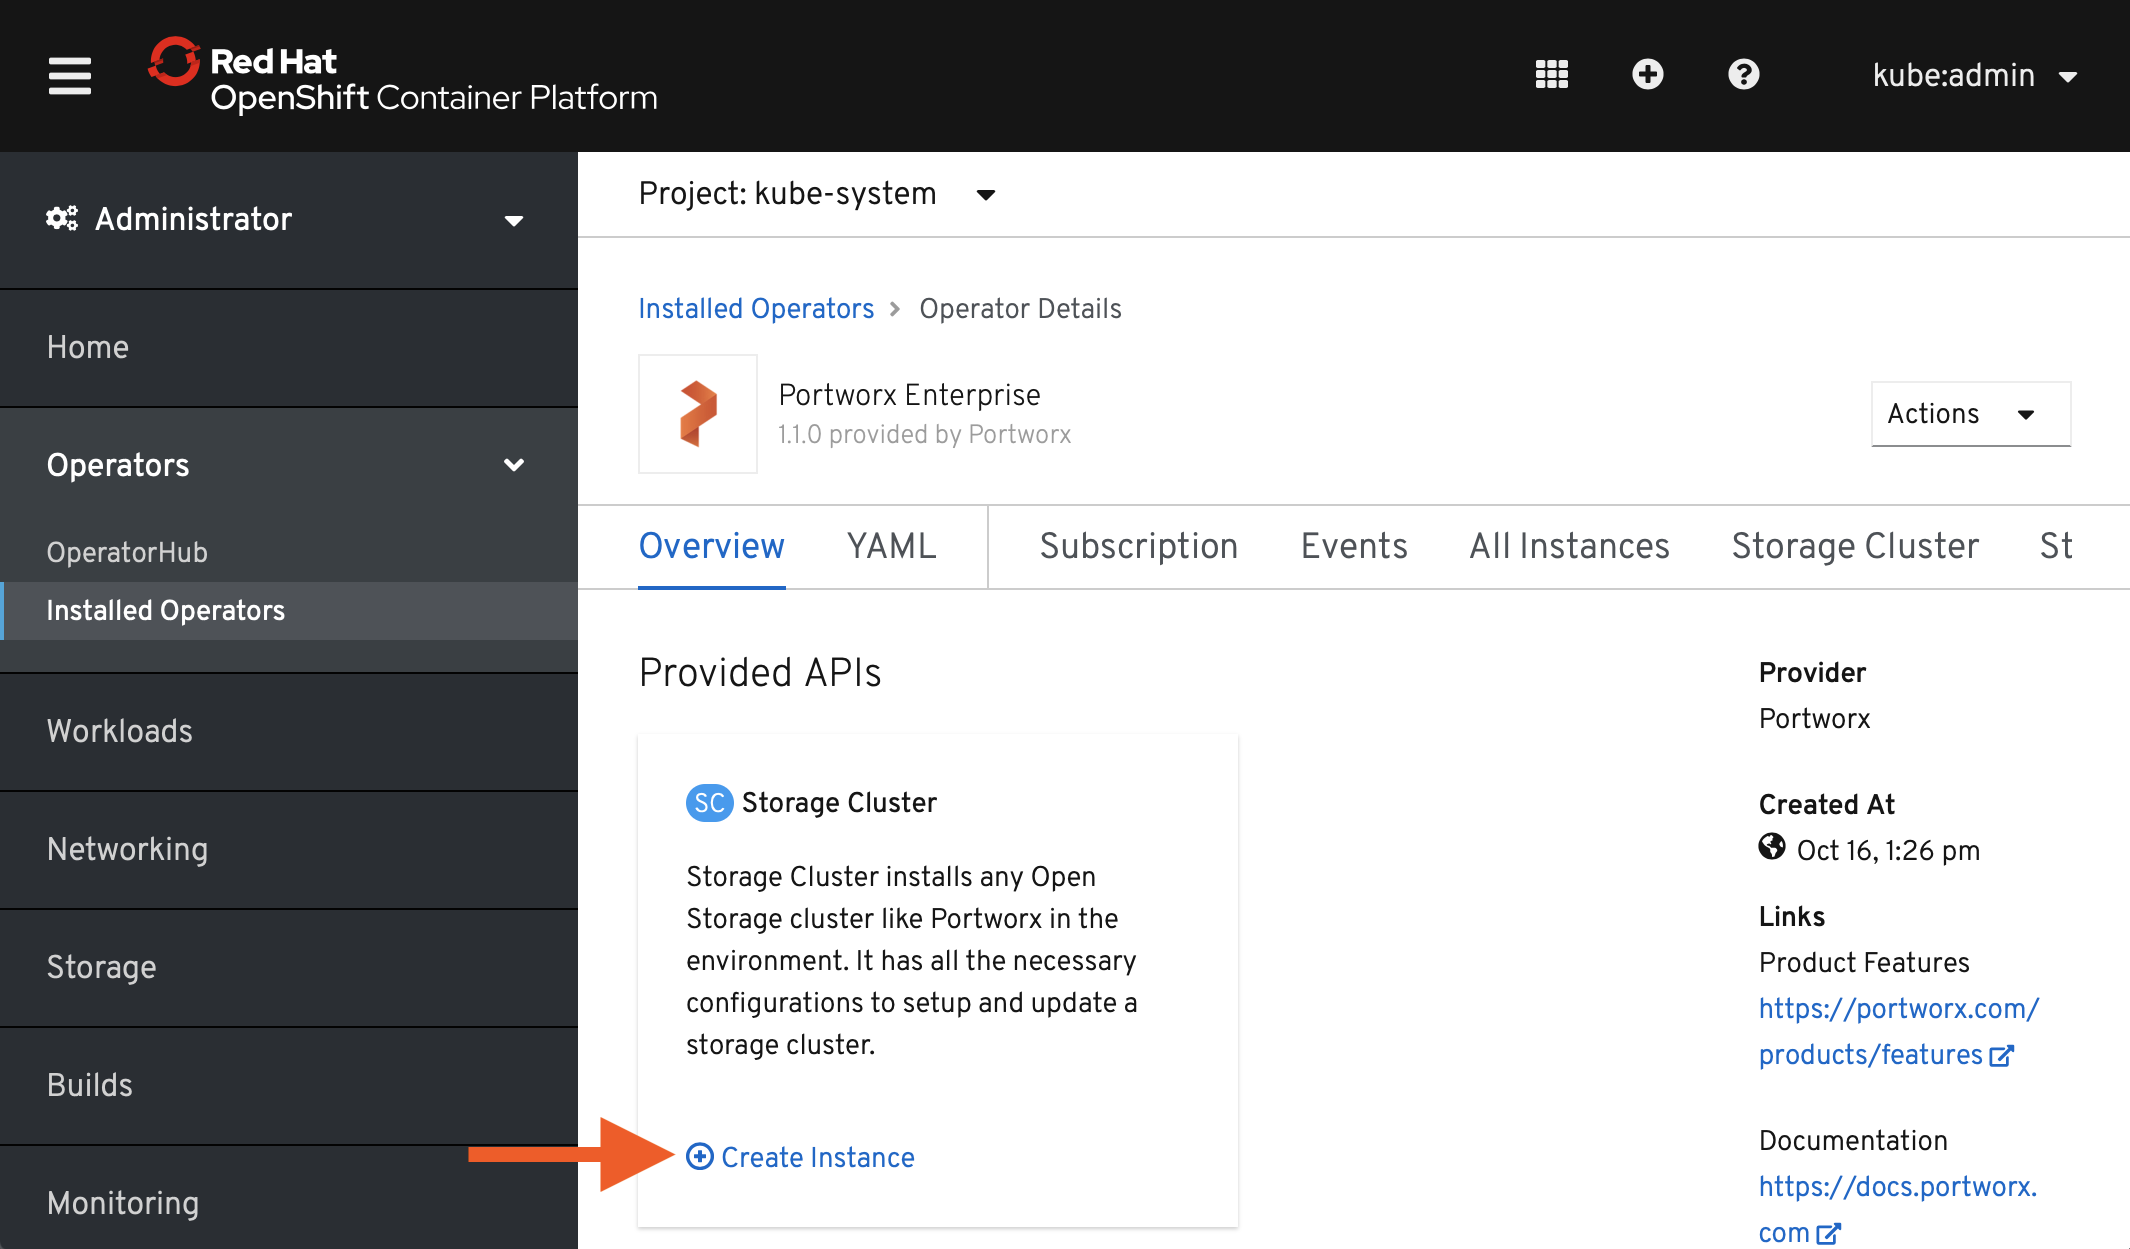
The spec displayed here represents a very basic default spec. Copy the spec you created with the spec generator and paste it over the default spec in the YAML editor on the OpenShift Console. Select Create to deploy Portworx.

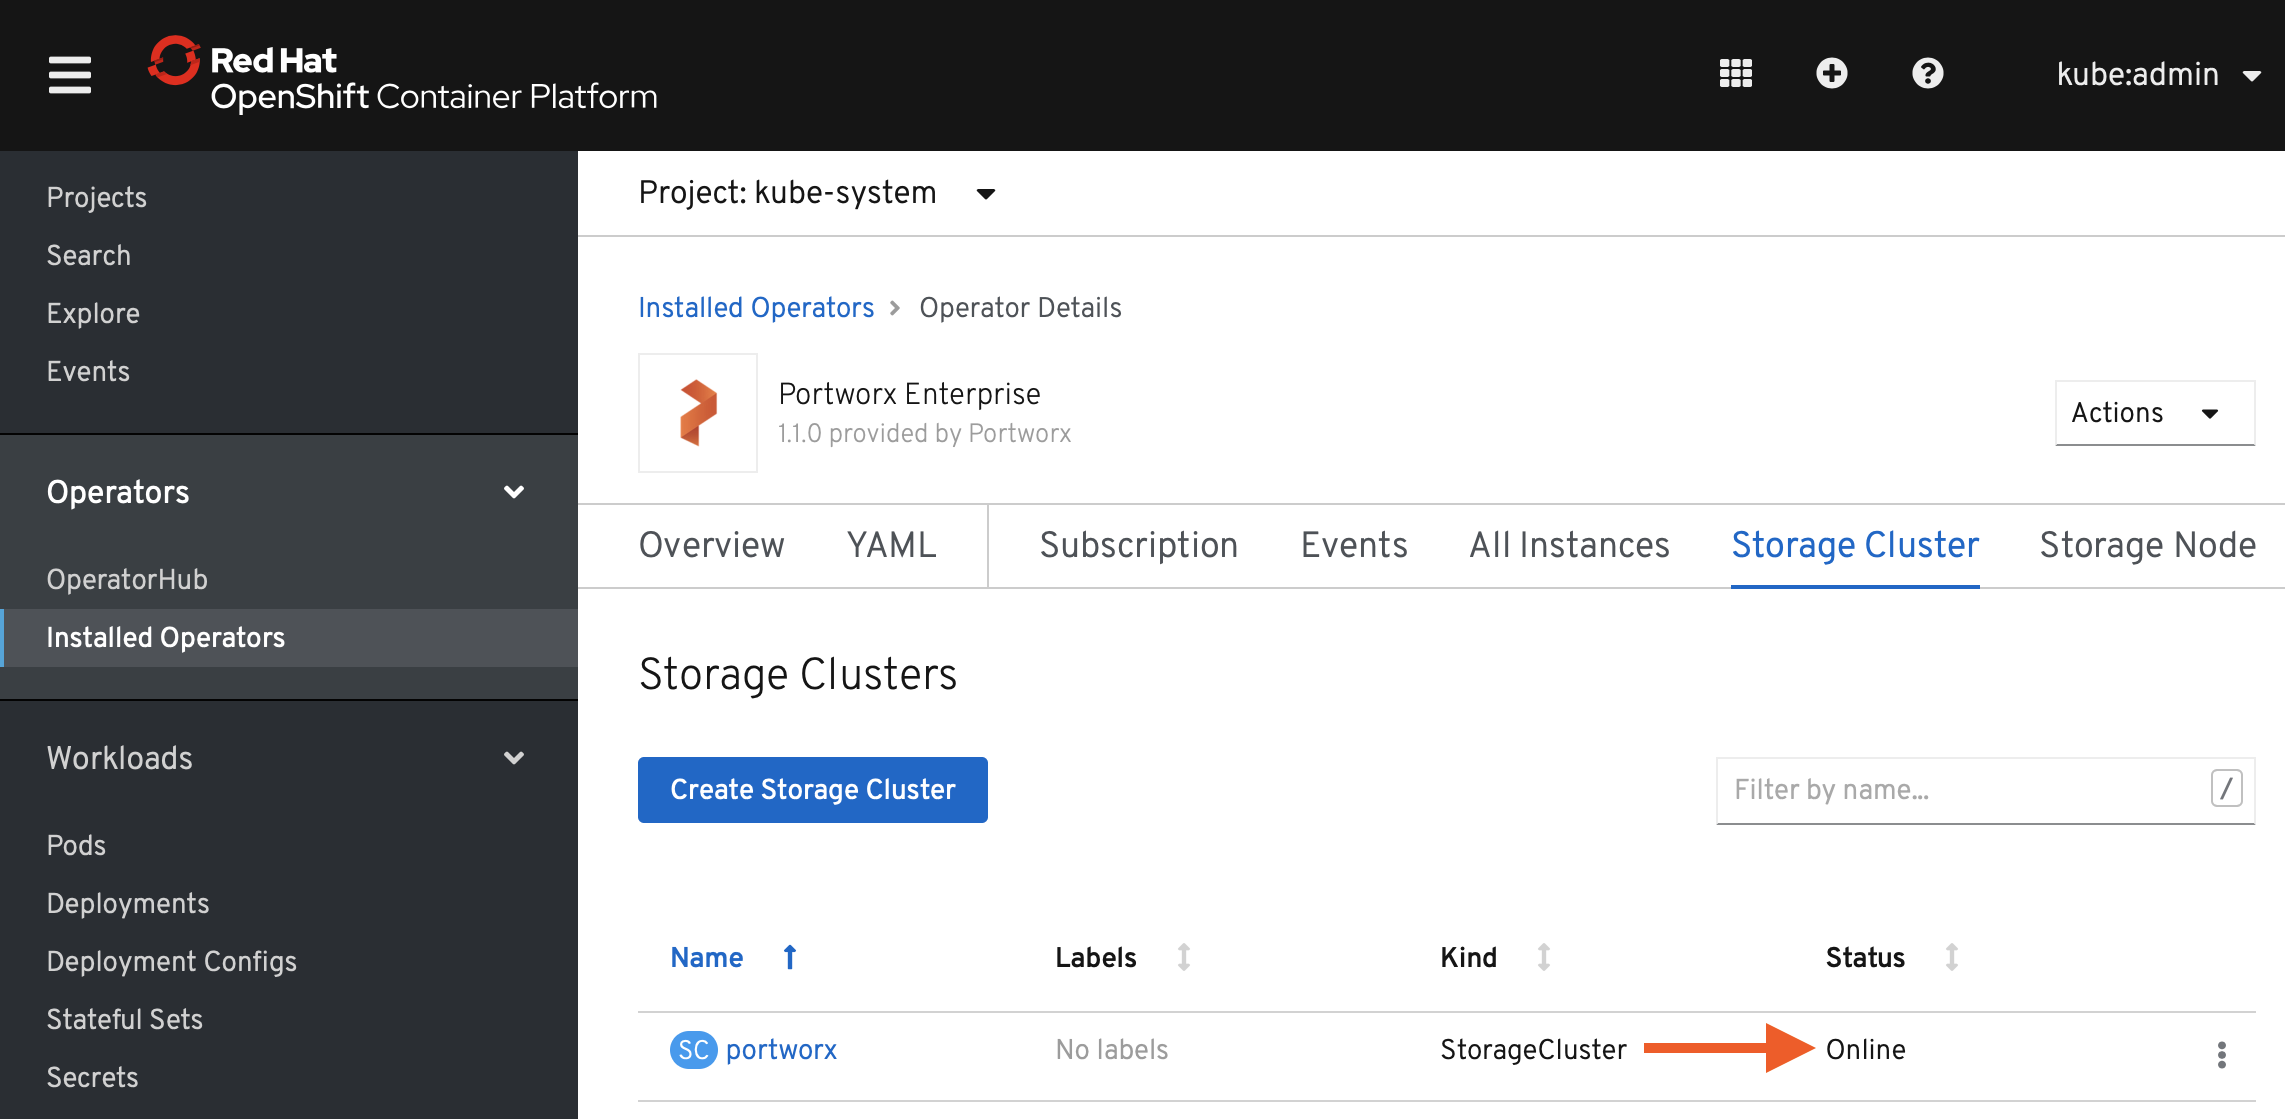
Verify that Portworx has deployed successfully by navigating to the Storage Cluster tab of the Installed Operators page. Once Portworx has fully deployed, the status will show as Online.
Install Portworx using the command line
If you’re not using the OpenShift console, you can create the StorageCluster object using the oc command:
Apply the generated specs to your cluster with the
oc applycommand:oc apply -f px-spec.yamlUsing the
oc get podscommand, monitor the Portworx deployment process. Wait until all Portworx pods show as ready:oc get pods -o wide -n kube-system -l name=portworxVerify that Portworx has deployed by checking its status with the following command:
  PX_POD=$(oc get pods -l name=portworx -n kube-system -o jsonpath='{.items[0].metadata.name}')
  oc exec $PX_POD -n kube-system -- /opt/pwx/bin/pxctl status
Post-Install
Once you have a running Portworx installation, below sections are useful.
-
Kubernetes operations arrow_forward_iosOperations guide for running Portworx in Production with Kubernetes
-
Storage operations arrow_forward_iosLearn how to perform various storage operations using Portworx on Kubernetes
-
Stateful applications on Kubernetes arrow_forward_iosLearn how to install various applications with Portworx on Kubernetes